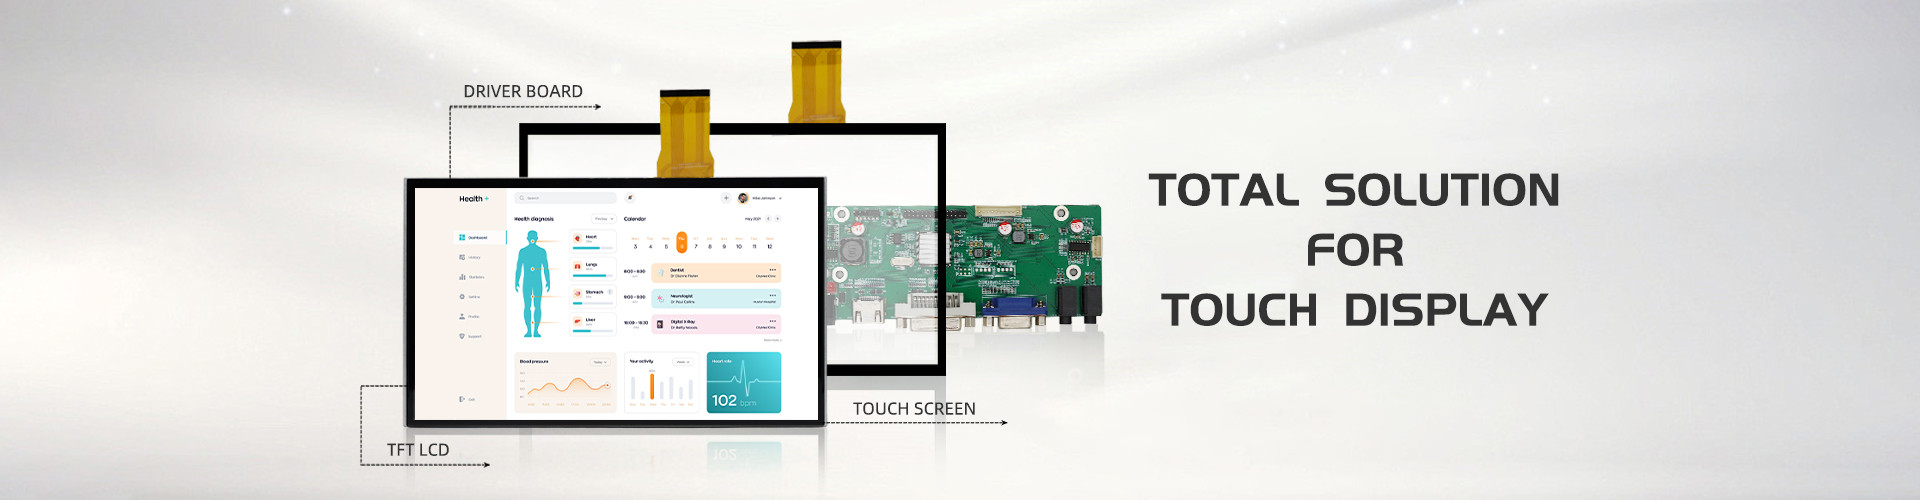
Driving a TFT LCD display involves several steps, including hardware connections, controlling the display through software, and managing the data sent to it. Here’s a general guide to help you get started:
1. Hardware Connections
Power Supply: Ensure the display is powered with the correct voltage (often between 3.3V and 5V).
Interface: Connect the display to a microcontroller or development board (like Arduino, Raspberry Pi) using the appropriate interface (e.g., SPI, I2C, or parallel).
Data Lines: Connect data lines (often 8, 16, or 24 bits) as per the display’s specifications
Control Lines: Connect control lines such as:
RS (Register Select): Determines whether the data is a command or data.
CS (Chip Select): Activates the display.
WR (Write): Used to write data to the display.
RD (Read): Used to read data from the display.
2. Software Setup
Libraries: Use appropriate libraries for your platform. For example, if you’re using Arduino, libraries like TFT_eSPI or Adafruit_GFX can help.
Initialization:
Send initialization commands to configure the display settings (resolution, orientation, etc.).
Set the display to the desired color mode (RGB, grayscale, etc.).
3. Drawing to the Display
Set Pixel Color: Use functions to set individual pixel colors by specifying coordinates and RGB values.
Draw Shapes: Utilize built-in functions to draw shapes (lines, rectangles, circles) and text.
Image Display: Load and display images by sending pixel data in the correct format.
4. Refresh and Update
Screen Refresh: Depending on the display type, you may need to send commands to refresh the screen.
Partial Updates: Some displays allow partial updates, enabling you to change only a part of the screen, which can save time and resources.
5. Example Code (Arduino)
Here’s a simple example using the Arduino platform:
#include TFT_eSPI tft = TFT_eSPI(); // Create TFT objectvoid setup() { tft.init(); // Initialize the display tft.setRotation(1); // Set rotation tft.fillScreen(TFT_BLACK); // Clear screen}
void loop() { tft.fillRect(10, 10, 100, 50, TFT_RED); // Draw a red rectangle delay(1000); tft.fillRect(10, 10, 100, 50, TFT_BLACK); // Clear rectangle delay(1000);}
6. Troubleshooting Tips
Check Connections: Ensure all connections are secure and correctly wired.
Voltage Levels: Verify that the display is receiving the correct voltage.
Library Compatibility: Make sure you are using libraries compatible with your specific display model.
Initialization Sequence: Follow the correct initialization sequence as specified in the display datasheet.
Conclusion
Driving a TFT LCD display requires proper hardware setup, software libraries, and understanding of the display’s command set. With the right approach, you can create visually engaging applications across various platforms.
Driving a TFT LCD display involves several steps, including hardware connections, controlling the display through software, and managing the data sent to it. Here’s a general guide to help you get started:
1. Hardware Connections
Power Supply: Ensure the display is powered with the correct voltage (often between 3.3V and 5V).
Interface: Connect the display to a microcontroller or development board (like Arduino, Raspberry Pi) using the appropriate interface (e.g., SPI, I2C, or parallel).
Data Lines: Connect data lines (often 8, 16, or 24 bits) as per the display’s specifications.
Control Lines: Connect control lines such as:
RS (Register Select): Determines whether the data is a command or data.
CS (Chip Select): Activates the display.
WR (Write): Used to write data to the display.
RD (Read): Used to read data from the display.
2. Software Setup
Libraries: Use appropriate libraries for your platform. For example, if you’re using Arduino, libraries like TFT_eSPI or Adafruit_GFX can help.
Initialization:
Send initialization commands to configure the display settings (resolution, orientation, etc.).
Set the display to the desired color mode (RGB, grayscale, etc.).
3. Drawing to the Display
Set Pixel Color: Use functions to set individual pixel colors by specifying coordinates and RGB values.
Draw Shapes: Utilize built-in functions to draw shapes (lines, rectangles, circles) and text.
Image Display: Load and display images by sending pixel data in the correct format.
4. Refresh and Update
Screen Refresh: Depending on the display type, you may need to send commands to refresh the screen.
Partial Updates: Some displays allow partial updates, enabling you to change only a part of the screen, which can save time and resources.
5. Example Code (Arduino)
Here’s a simple example using the Arduino platform:
#include TFT_eSPI tft = TFT_eSPI(); // Create TFT objectvoid setup() { tft.init(); // Initialize the display tft.setRotation(1); // Set rotation tft.fillScreen(TFT_BLACK); // Clear screen}
void loop() { tft.fillRect(10, 10, 100, 50, TFT_RED); // Draw a red rectangle delay(1000); tft.fillRect(10, 10, 100, 50, TFT_BLACK); // Clear rectangle delay(1000);}
6. Troubleshooting Tips
Check Connections: Ensure all connections are secure and correctly wired.
Voltage Levels: Verify that the display is receiving the correct voltage.
Library Compatibility: Make sure you are using libraries compatible with your specific display model.
Initialization Sequence: Follow the correct initialization sequence as specified in the display datasheet.
Conclusion
Driving a TFT LCD display requires proper hardware setup, software libraries, and understanding of the display’s command set. With the right approach, you can create visually engaging applications across various platforms.
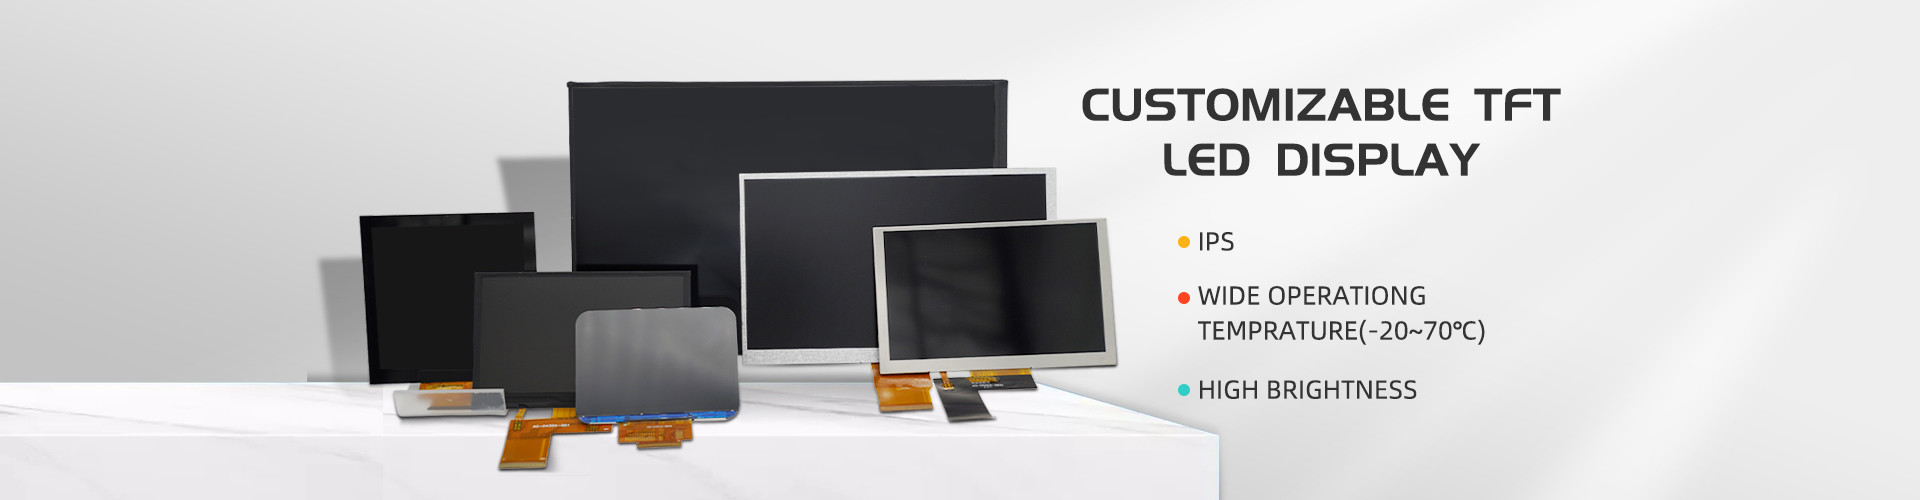
10.1 Inch WSVGA Display With Wide Temperature LVDS Interface Industrial TFT LCD
Military 7 Inch LCD Monitor High Resolution LCD Display Module Manufacturer

 Your message must be between 20-3,000 characters!